Baking

Sunday, November 30, 2014

Wine Rack

Lately, I've started drinking more wine. I can't call myself a wine drinker since I can't have less than half a glass at one time. I especially LOVE Chocolate wine. Unfortunately, after I finished my first bottle given to me by a friend, I found out that it was more of a seasonally wine.

To wait out the year, I started trying different wines. I also have lot more friends that drink wine, which means I have a little stash with no "place" to store them.  I knew that I wanted something made out of our pallet collection to hold the bottles.

About three weeks ago, we went to our local home improvement second hand store for a sale they were having. We were there to look for some wood that DH needed, and see a demonstration of Anne Sloan paints. I decided to take a quick peak into one of the used furniture stores in front of it. As soon as I walked in, I saw this beauty.

I knew I had to have it. Impulse buying is not something I typically do, but this I couldn't pass up. Made it even more worth it when the manager gave me a discount, SCORE!!

Giving this baby new life was easy. The black with hint of red is too dark for our space, so I opt to spray paint it silver.

Took almost a whole can to cover up the black, but it was worth it. I like the end result.

EXCEPT, the space benighted is boring. Something had to go there to beautify it.  See my next post on what DH did with this pallet.


Tuesday, November 4, 2014

Pallet Garden

We have had the most interesting gardening season. Today I went out on a breezy, cold November day to clean up the garden and get it ready for the winter. To my surprise I see that our pepper plant that hasn't grown all summer is flowering and has the tiniest pepper on it. 
There is a freeze warning for tonight, so we'll see how long it stays alive. Not sure if I want to water it or not.
 
Now onto the beginning, this was a labor of love from start to end. We broke up about ten pallets to create the beds, dug up the hilly section of the yard and hauled 2 cubic yards of dirt and 1 cubic yard of mulch to fill this baby up. If you know measurements, you know that is a LOT of dirt.  All of it was shoveled and wheeled barrowed over to the garden by DH and myself in two days.  Talk about hurt backs when we were done.  We so appreciated our former community garden because at least the work was done as a group.
 
Here are picture chronicle of our efforts. 

Measuring the locations and the size of the beds

 
The first complete bed
Work Injury. Branch fell from the neighbor's tree
DS "trying" out their beds. One was made for each kid
Here is the complete garden beds. My dad was visiting from London and helped DH fenced it in.
 
The work of building and digging the beds would never compare to how painful it was to haul all of the dirt and mulch to the beds.
 
 
To finish it all up, DH created a door to keep critters out, not to say that the squirrels can't jump the fence.   
DS trying to figure out the lock
All done
We hope to enjoy the fruits of this labor for many years to come. Might change the fence at a later time because this just isn't strong enough but for now, we are proud gardeners.


Tuesday, October 21, 2014

Faux Mud Room


Anyone with a small house knows having a mud room is a huge perk. We weren't lucky to have one, so we had to create one. After spending countless hours on Pinterest, we decided we like this style.

via
Some place for shoes, bags and coats and mail.  We had an old entertainment center that I thought would be perfect to make the cubbies with. Unfortunately, we after redoing the measurements, I didn't think it was safe to have a wood piece at the end of the staircase. In my head I see one of the kids falling down the stairs and going right into it.

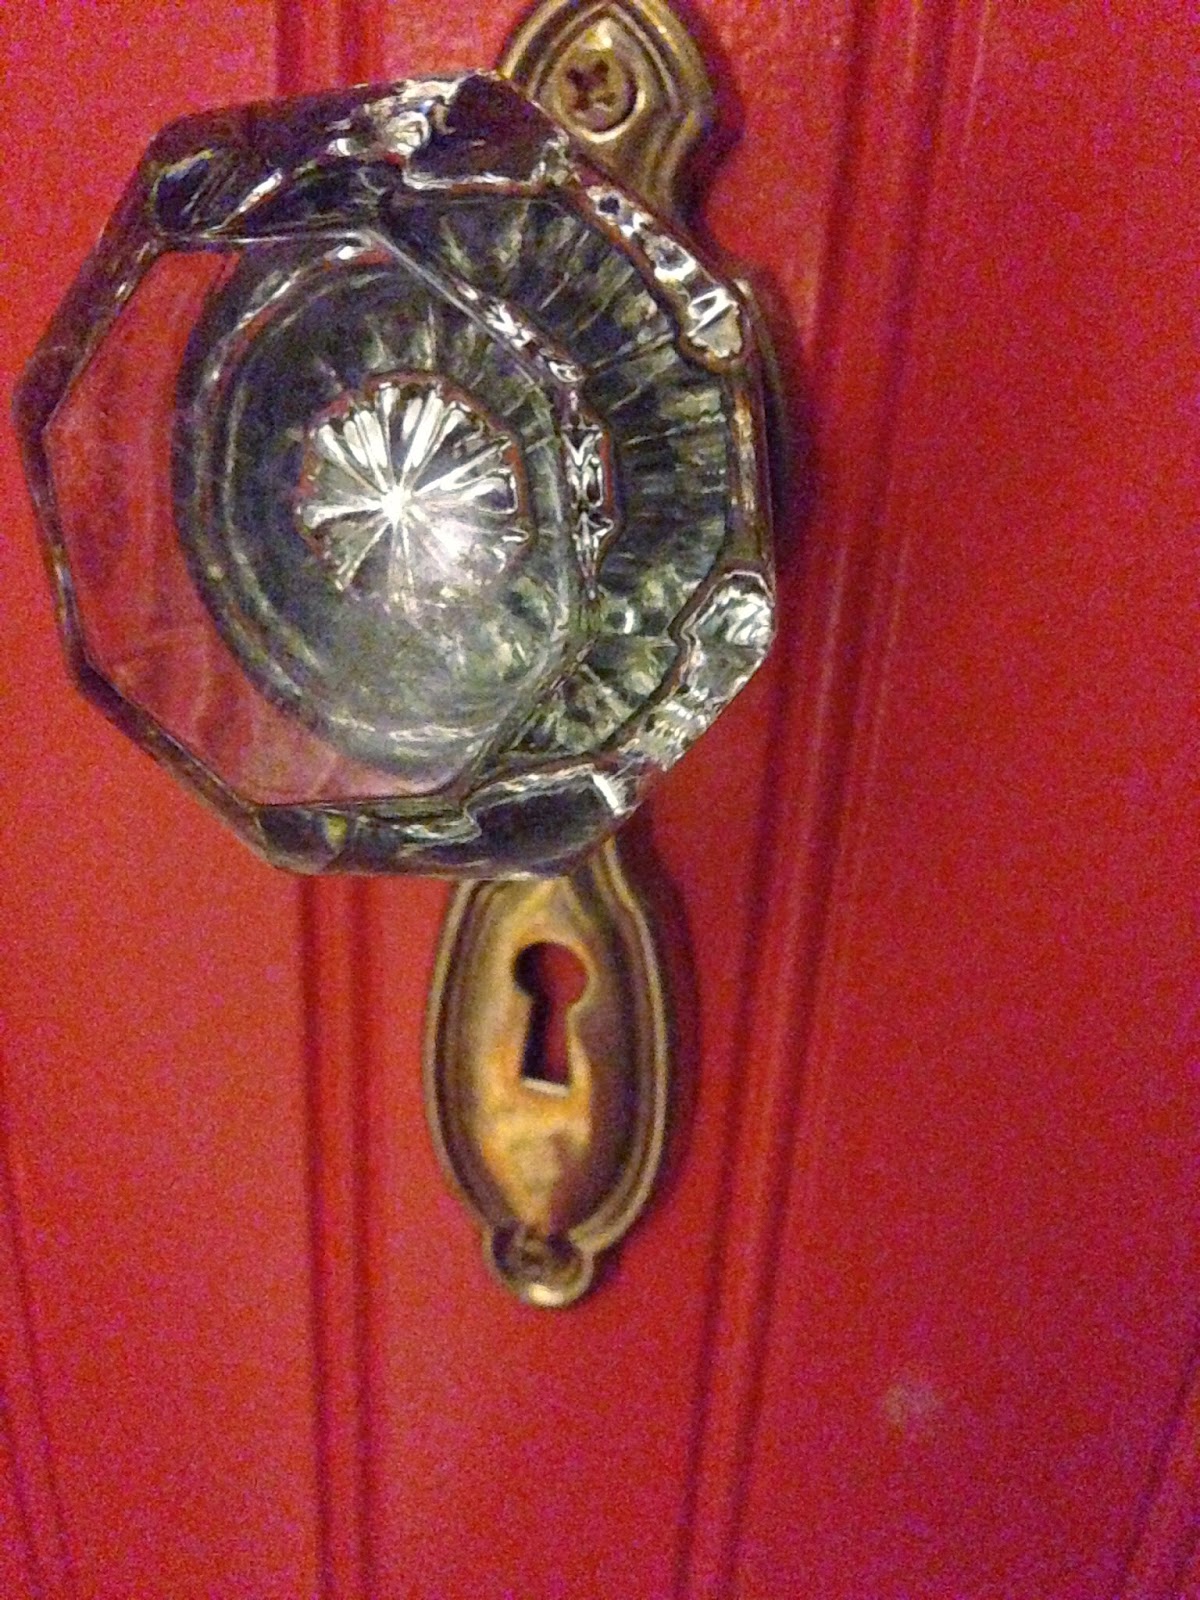
We opt for hooks and shelving.  Just about the same time, our church starting sorting through old furniture for a yard sale.  There were doors, knobs and signs. I fell in love with the door knobs.  I also went to an antique store and bought old glass knobs.


These are the ones from church. Had to clean them to bring out the shine. They are so pretty.


These are the ones from the antique store. I was so pleased when the owner said they came with the plates. I didn't take a picture before they were installed.


Once I had the knobs, I went on Craigslist for small mirrors and found the perfect size. Every mud room/entry way needs a mirror for last minute check before walking out the door.

We didn't want to pain the wall so we covered it with  Wainscot panel, which doubles as spacers. The kids picked the colors of the shelf that DH made the wall. All paint are discounted ones from Home Depot.
         
 
DH hard at work installing the panels. I painted both the shelf and panel in one night. The kids were ecstatic when they saw it in the morning. Now it was on to installing the door knobs. I can't tell you I fully understand what DH was saying but it took him at least two weeks to get it done.
 
Here is a picture of the before and after. What a huge difference. I wasn't sure what I would use the paint for when I bought it, but this was perfect. Brings a nice pop of color to the neutral room. The baskets came from Hobby Lobby on clearance. At the base is two Ikea shoe bins for the kids.


We are really pleased with the outcome and is serving us really well.


Wednesday, October 1, 2014

Shower Update

Having one bathroom and two little children, a tub with glass doors was not the first choice. We immediately decided to remove them and clean up the grout. The tub is huge and we hope to have it resurface soon.

This job was DH's undertaking. Removing the doors were easy, sanding the grout, well that was another story. I'll let the picture speak for itself.


Small bath with glass doors

Welcome to happenings....Hard Wood Floors

Thank you for stopping by. This blog is created to capture things that we are/will do to our 1952 cape cod home. Eventually, we will combine our food blog with this one and just have one to update. We bought this "small" house a year and a half ago, and went straight into making it a functioning home for us.

My first impression of our house was, "oh my gosh, that carpet has got to go". Typically reaction of most home buyers, but really, the carpet had to go. My DS has mild asthma so we didn't want a house full of carpets.

We kept our old place while I rip up the carpet. My first experience ripping carpet. Would I want to do it again? I would shout NO at the top of my lungs. It was painful, but being a frugalister, I endured on. 


Removing nails


This makes me want to cry, but I took all of them out. One at a time


What the floor looked like after. Carpet in the back


Space between floor and base board after carpet was removed


Filled in with Great Stuff to prevent draft from coming in


Adding toe shoe
As you can see, the floors were sanded and stained by a professional. Removing the carpet is the biggest job I have taken on by myself, so far. I have no regrets at all.


Tuesday, April 8, 2014

Vegan Chocolate Cake

Half way to work this gloomy, rainy Monday morning, my phone beeped to show I had a work email. Since I was stuck in standstill traffic, I checked to see what the header of the message was. To my dismay, it was an announcement that a co-worker whom I was joking with on the previous Friday, passed away that Saturday. Not the news I wanted to hear on a cloudy rainy Monday morning.  The rest of the day became a blur. I KNEW that I had to bake something to cheer myself up.

Tomorrow is my monthly Mommy Pokeno game night and I have to provide dessert. I asked couple of co-workers for some quick ideas which they provided, however, I ended up going with something vegan because we have two vegetarians in our group and didn't want to have to provide two separate options.

Who doesn't love chocolate right?

Ok, DS can do without it but that doesn't mean he doesn't like it.
 
Anyhow! The real test was if  DH would figure out that it was vegan. When he asked what I was making, I said chocolate cake.
 
Process is simple enough: Flour, sugar, cocoa, oil, water, vanilla, baking soda etc. What surprised me was no baking powder BUT you add balsamic vinegar. WHAT? VINEGAR in cake? OH YES. Apparently, balsamic vinegar goes really well with chocolate.
 
Wet and dry ingredients ready for mixing. No machine needed

Took two minutes
 
The recipe said to bake for 45mins at 350 degrees. It took longer to bake and I had to turn the oven down to prevent burning. I made one with vegan cocoa chips and the other without (mainly because I forgot while mixing the first batch). I could  have doubled the recipe, but that didn't work well for me the first time I tried with a new recipe.
 
With cocoa chips

One on the left without
While they were cooling, I made the icing. Also vegan.
 
Side note on the icing. I felt so silly at the store. I starred at the cake section for a while looking for traditional icing containers to no avail. The kind lady that came to help pointed them out to me and I stated "no, that's cake mix". Duhhh, reading is fundamental. My excuse, I had a bad day. She then went into telling me about how she doesn't like the smell of real butter. They just happened to have the vegan butter out with some fresh bread for tasting. I was sold at first tasting.
 
 
After I made the icing, DH walks in to "taste". Talked about how good it was and wanted to do a tasting with cake. He still didn't know it was vegan.


Outside is a bit crispy but inside is super moist. DH liked it and stated that the cake would have gone really well with whipped cream. I then kindly told him that it wouldn't since I needed it to be vegan.  Ah ah, was his reply and finished with, well it's still good.
 
SCORE!!! Now hopefully everyone else at Pokeno likes it.